How to Add Confetti to Your Clickfunnels Page
Adding Confetti animation to ClickFunnels is really easy!
No coding skills required. Simply follow these steps and you're good to go.

First Create the Confetti Animation
Step 0: Create a custom Confetti animation and generate the code to install on your website by visiting ConfettiPage.com.

Step 1: Click the black button that says “Copy Code”.

Step 2: On ClickFunnels go to the desired page you want the confetti to be in.
Quick tip: It is recommended to put the confetti animation in the thank you page, to celebrate with your visitor for taking action (signing up, purchase etc).
Then Install the Confetti Code on your Chosen Page
Step 2: Go to ClickFunnels, and then on the Main Menu, choose "Funnels".

Step 3: Inside “Pages”, click on the relevant page you want to add the Confetti animation to.
In the example shown, we will use the “Thank You - Confetti Demo” to go to the Editor.

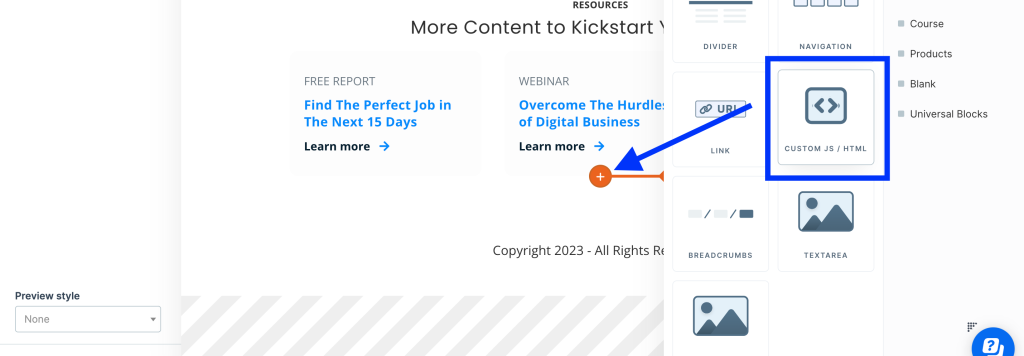
Step 4: Hover your mouse within a Section/Row and click on "Add Element" which will appear as an orange colour.
Note: Please disregard the content you are seeing on this page - it is simply being used for demonstration purposes.

Step 5: Look for the "Custom JS/HTML Element" and then drag it in the middle.
Step 6: Click on the "Custom JavaScript / HTML Element" and select "Open Code Editor".

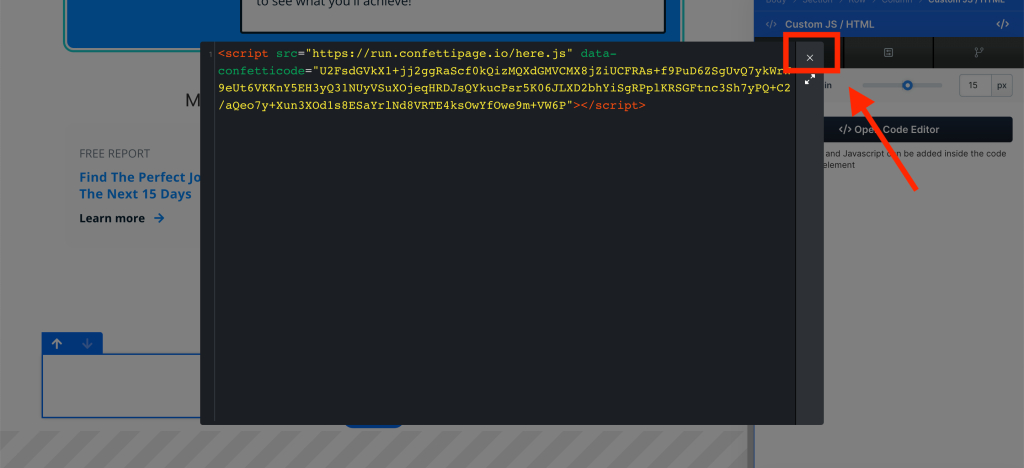
Step 7: This will open a box where you will be able to paste in the confetti code next. This is what it will look like.

Step 8: Right-click with your mouse and click “paste” to add the code you copied from ConfettiPage.com earlier (or use the text shortcut “Control V” for Windows or “Command V” for Mac) to paste the code.

Step 9: Once you see the Confetti code pasted into the JS/HTML Element, click on the X button of the element.
Step 10: Click "Save".

Step 11: Click on the Eye Icon to Preview. This will open in a new tab and you should see the Confetti animation in action!
If you did all the steps above correctly, the Confetti code will work. Congratulations!
Step 12 (optional): If you are using the free version, you will see the “ConfettiPage.com” branding appear at the bottom left.

If you would like it removed, simply pay for a license to use it without the watermark.